Knowledge Base
Managing Contacts in TextingOnly
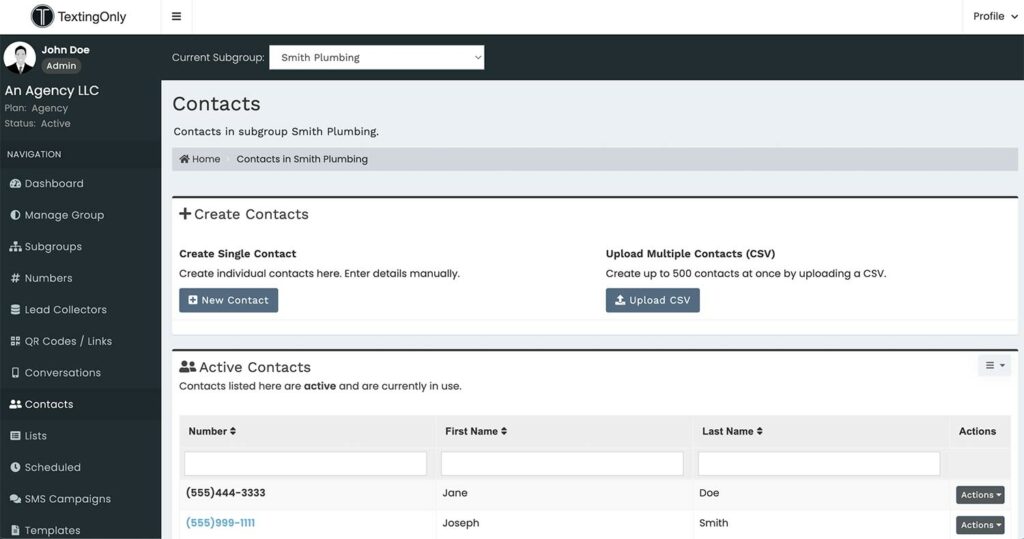
Accessing the Contacts Section:
- Click the Contacts tab on the left-hand navigation bar.

Creating Contacts:
- + New Contact:
- Add individual contacts manually.
- Ideal for outbound SMS lists or one-to-one conversations.
- Upload Multiple Contacts:
- Import multiple contacts from a CSV file.
- Note: 10DLC registration restrictions may apply.
Active Contacts:
- View contacts that are currently associated with lists.
- Click on a contact or use the Action button to:
- Edit contact details.
- View detailed information.
- Delete the contact.
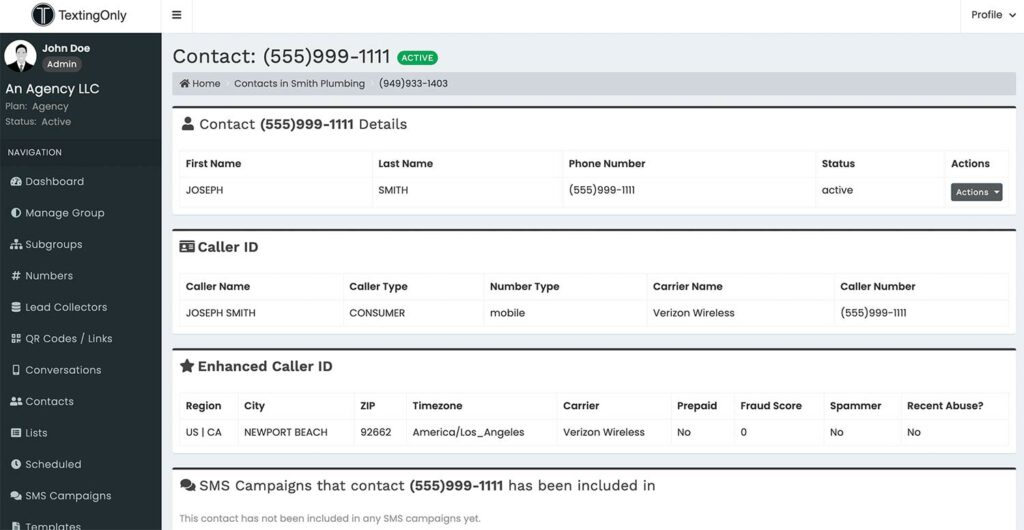
Contact Details:
- Name and Number: Basic contact information.
- Caller ID:
- Caller name
- Caller type (consumer or business)
- Carrier information
- Enhanced Caller ID:
- Region of the area code
- City and ZIP code of phone registration
- Lists That Contact Are Included In: Shows associated lists.

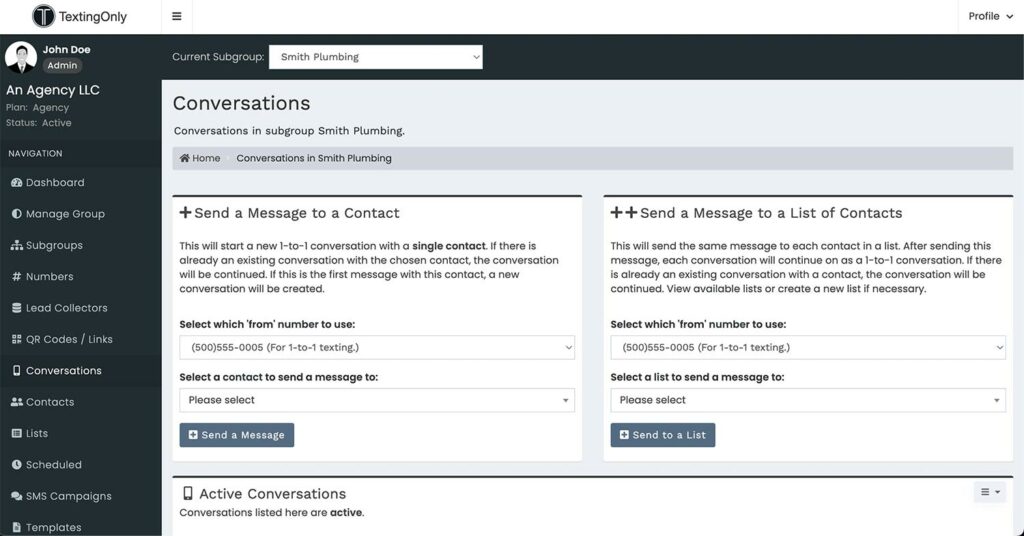
Starting Conversations:

- Click Create a New Conversation to initiate SMS interactions.
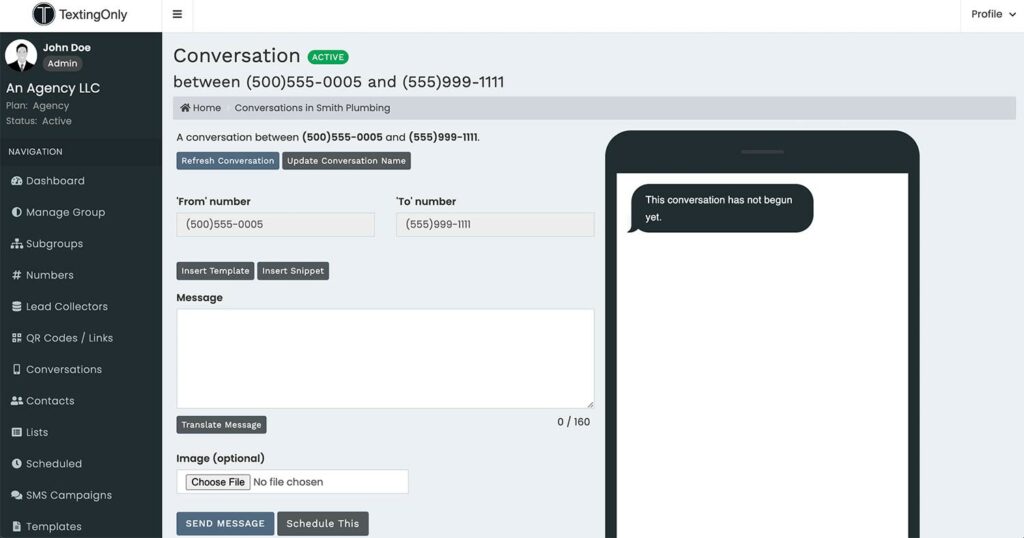
Active Conversations:
- View ongoing conversations with the contact.
- Click on a conversation to view its history.

- Note: Contacts can engage with multiple SMS channels within TextingOnly.
Archived Conversations– This allows you to view closed conversations (not active). This is used in the one-to-one messaging, removing from active conversations tab, closing the conversation for reference at a future date.
Deleted Contacts:
- View previously deleted contacts in this section.