Knowledge Base
Managing Lists in TextingOnly
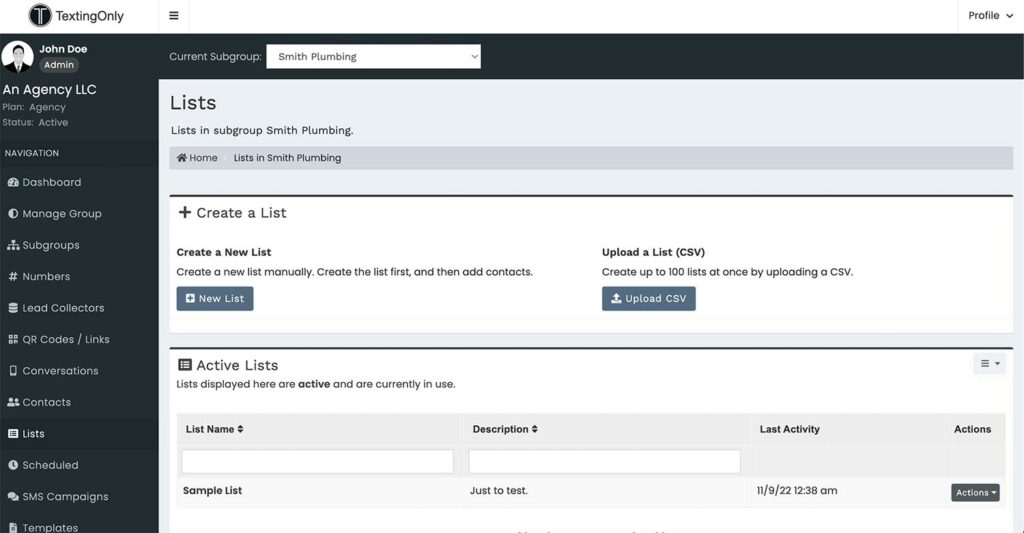
Accessing the Lists Section:
- Click the Lists tab on the left-hand navigation bar.

Creating Lists:
- + New List:
- Manually create a list and provide a descriptive name.
- Used to associate with collectors and collect data (e.g., website leads).
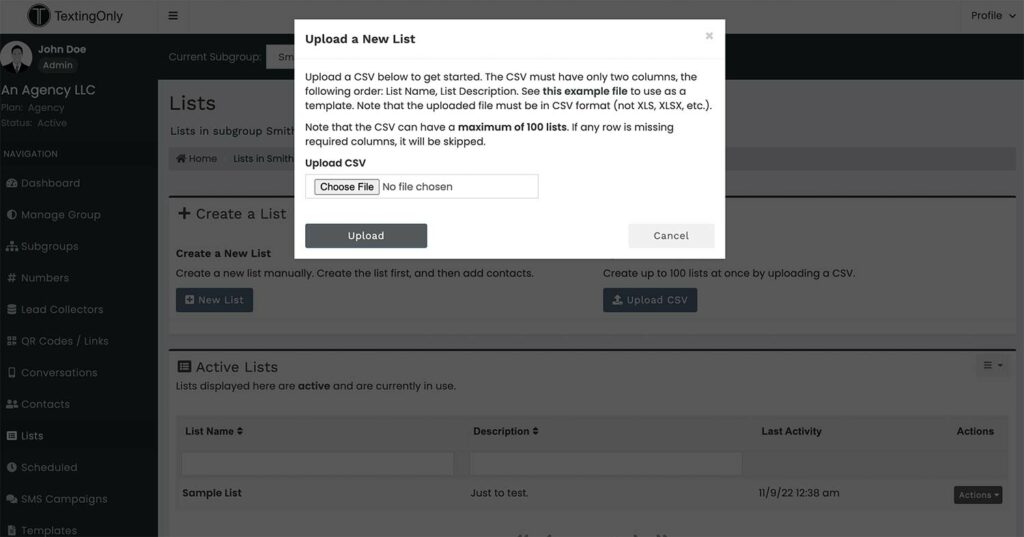
- Upload a List:
- Import a list of contacts from a CSV file.
- Used for outbound SMS campaigns.

Active Lists:
- View currently active lists.
- Click on a list name or use the Action button to access details.
List Details:
- List Name and Description: Basic list information.
- List Status: Indicates whether the list is active or inactive.
- Contacts: View and edit individual contacts within the list.
- Users with Access: Manage permissions for users who can send messages to the list.
Sending Messages to Lists:
- ++ Send a Message to Every Contact:
- Select a sending number from the dropdown menu.
- Click the Send Message button to initiate the process.
- Launches the message sending dashboard.